Apple Health Redesign: Pitch Scene Documentation by Steve Wu | GIXD 503 Creative Prototyping | ACCD 2025 October 21
Introduction
This short clip you are seeing is a pitch scene I made for my Apple Health redesign project. This is a 3D scene made in Blender, and I'm documenting some tools and resources I used here.
Project Context
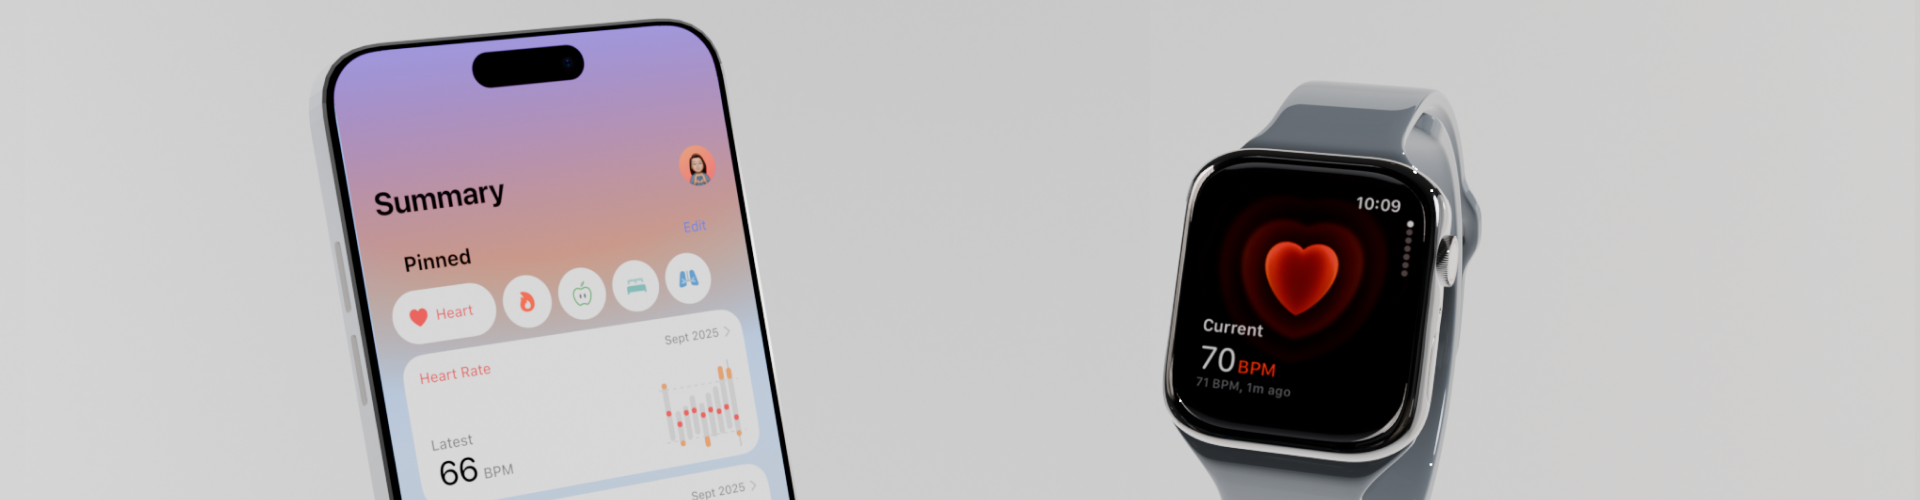
In this project, I'm reddesigning the Apple Health app to give it a more optimized interface to better assist user collect and utilize their health data. Although I'm not working on the Apple Watch screen. It's still a significant part of the system, so I also included it in the scene.
This project is mainly focused on the software interfaces. But a rendered 3D scene could help the presentation, so I'm also using this opportunity to create 3D assests for later uses. Meanwhile, this pitch scene is for, you know, pitching the project.
Since it's an Apple app, I'm planed my scene to have an Apple vibe. There should be an iPhone, an Apple Watch, and some text to pitch the app.
Scene Setup
Before starting building anything, I decided to put in some background texture and lights for context. I used this HDRIs from Poly Heaven because it has a clean white background.
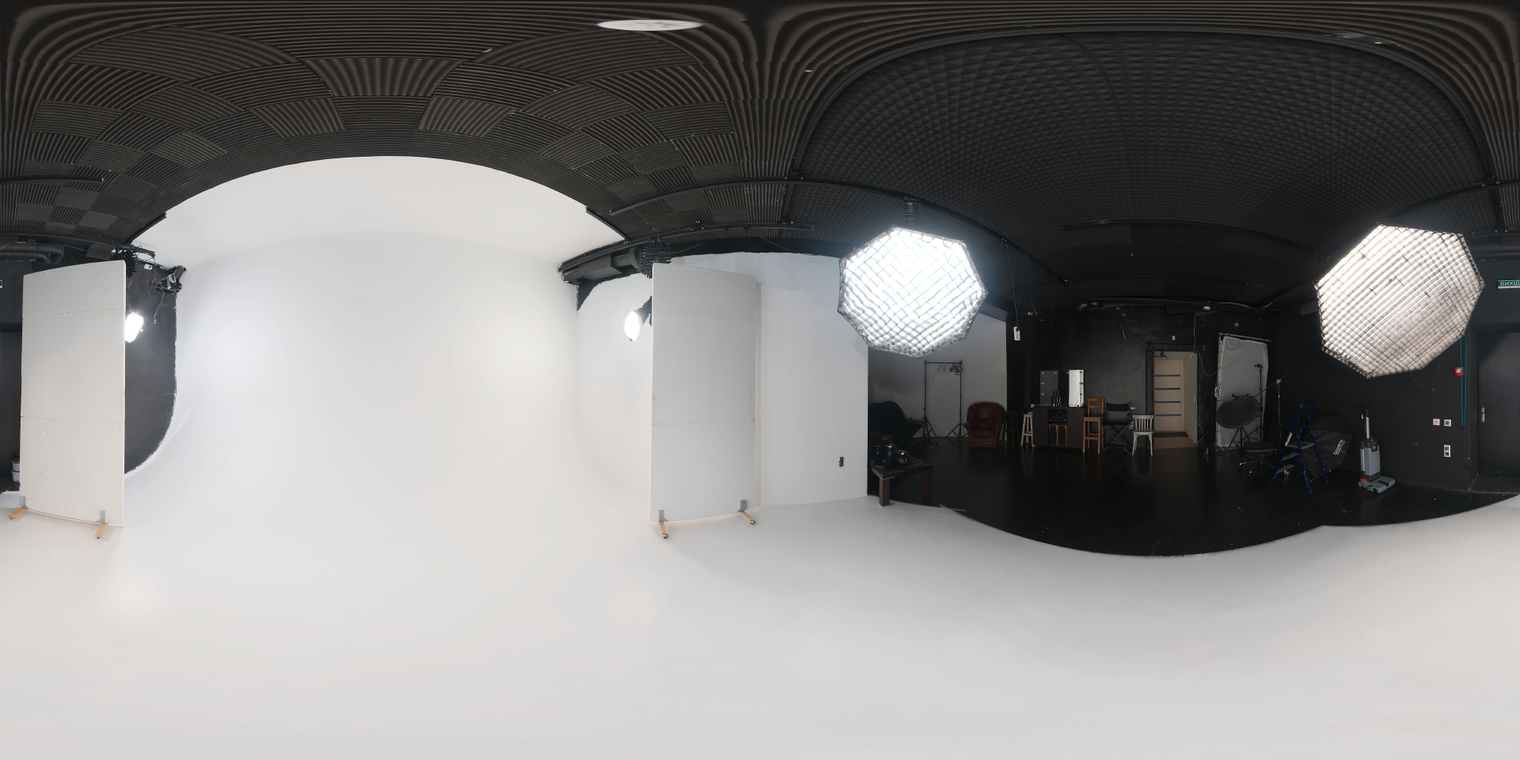 preview of the HDRIs from Poly Heaven
This is how it looks like in the scene.
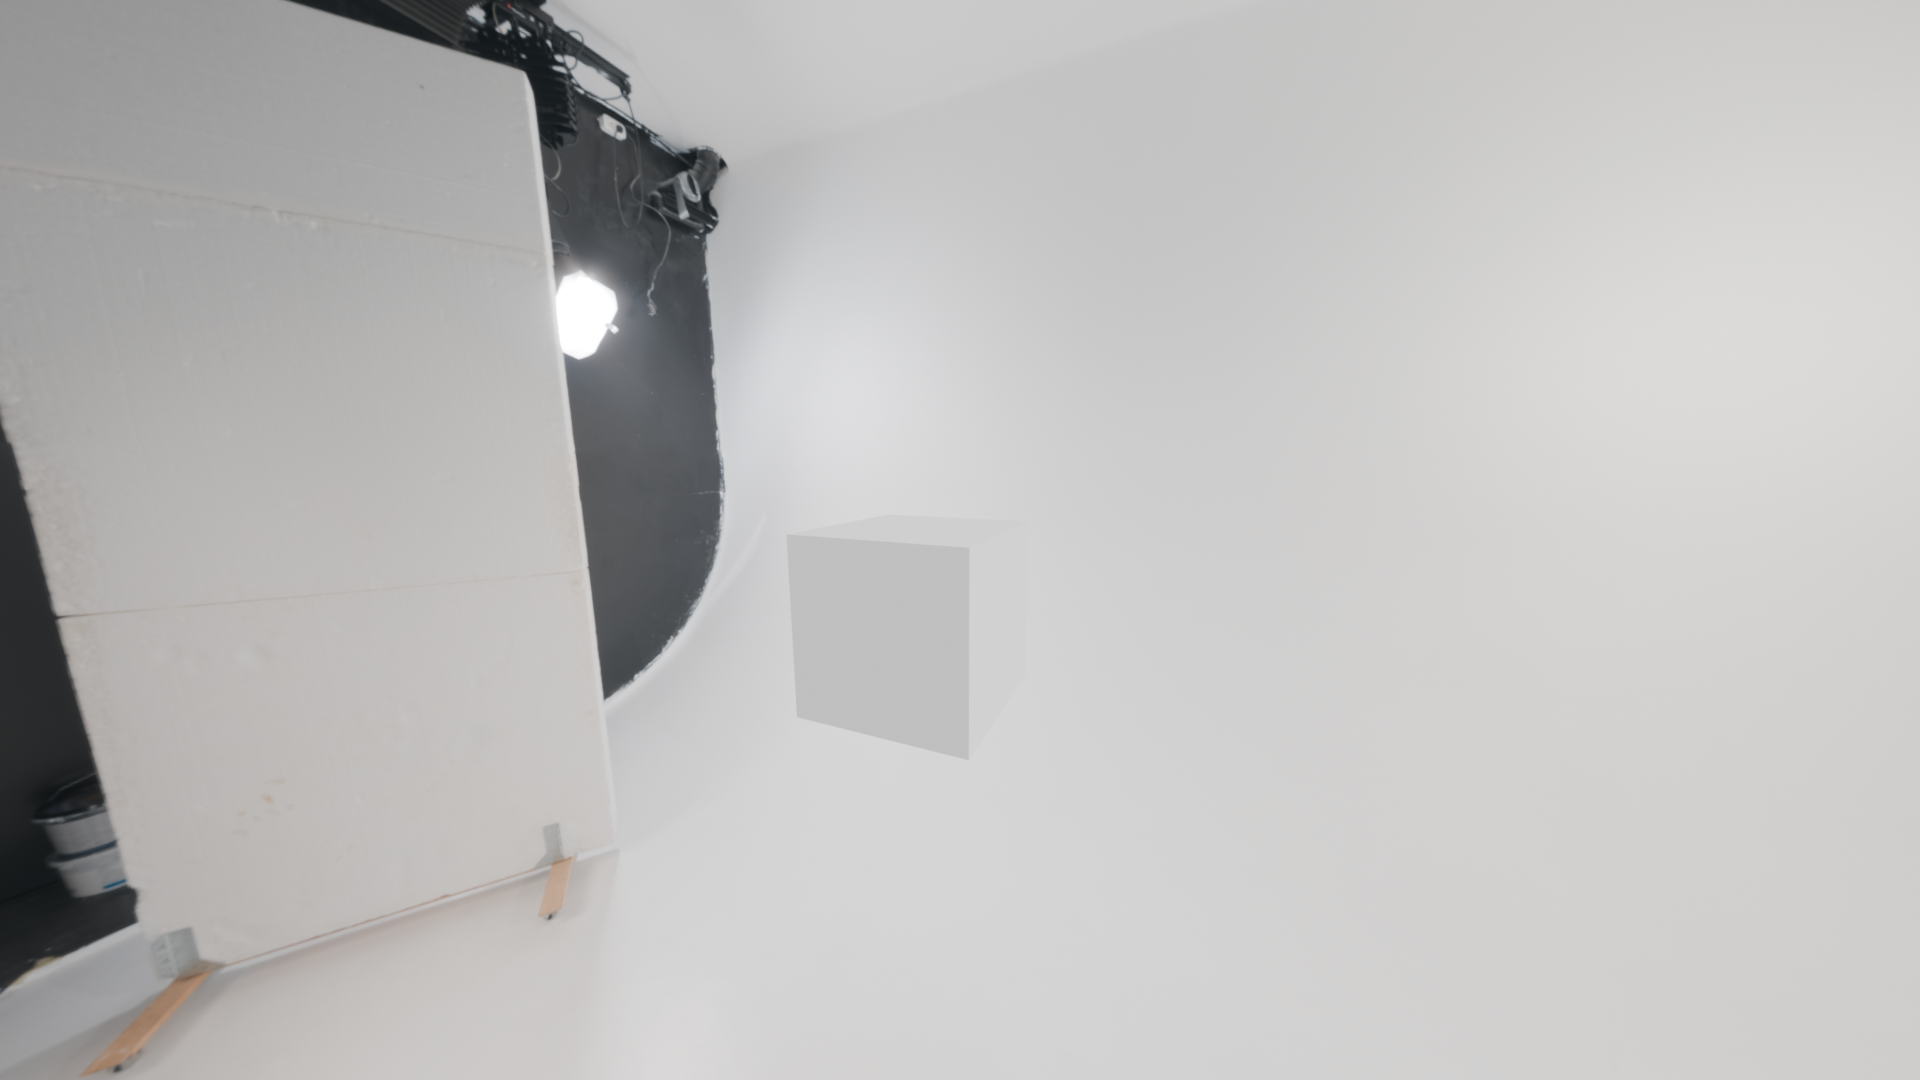 preview of the HDRIs in the scene, pretty bright right?
Modeling the iPhone
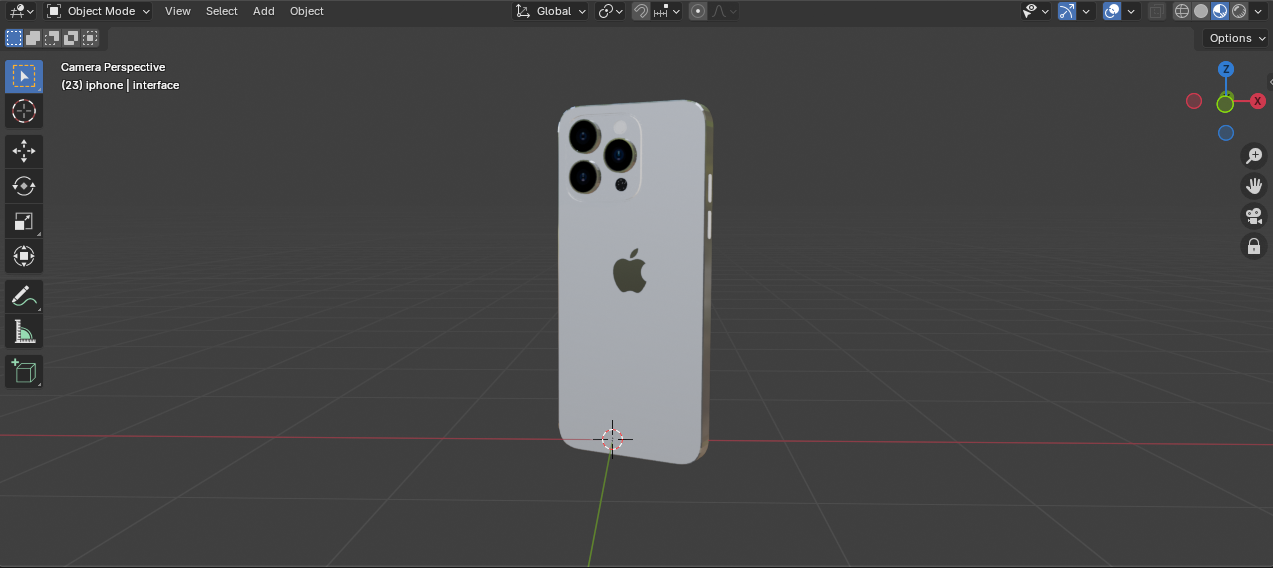
I started modeling the iPhone. One highlight during this process is the Bevel edges tool, it creates faces to round sharp edges so I could achieve the round corners of the iPhone. I used this Apple logo model from Sketchfab.
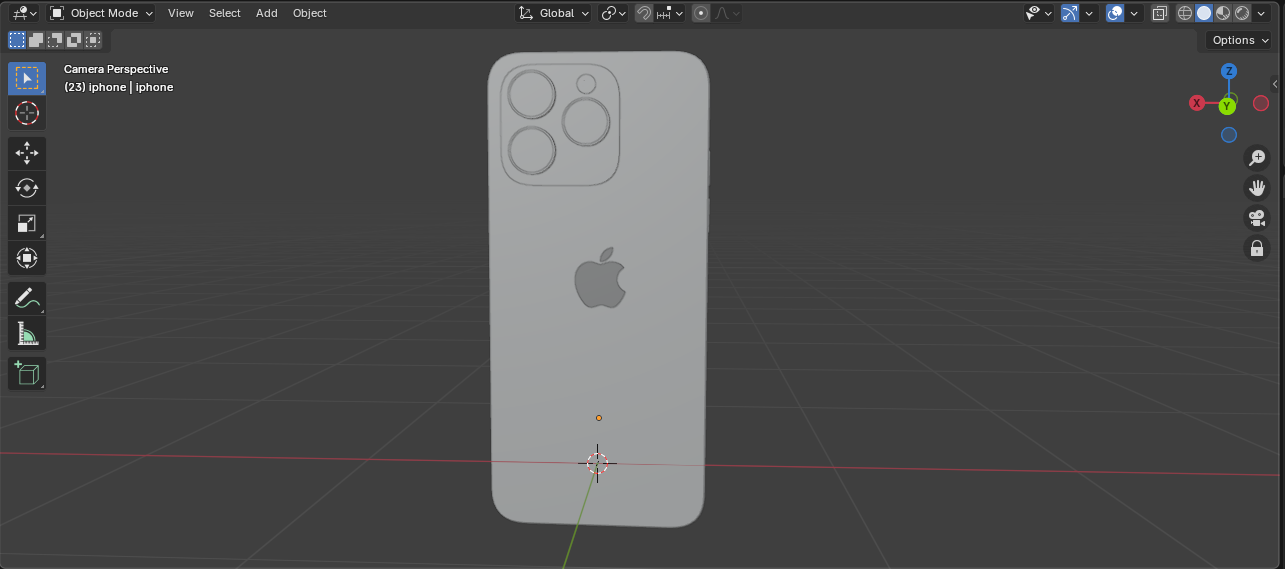 iPhone model!
I then created materials for each component on the iPhone, such as the metal frame, camera base, or the apple logo. I included a glassy like material for the camera base and it looks pretty good.
 iPhone model! In color!
Now the tricky part is the screen. Because the screen face on the model has rounded corner, it's difficult to line it up with the interface I designed and exported from Figma. So I did a work around---using a plane.
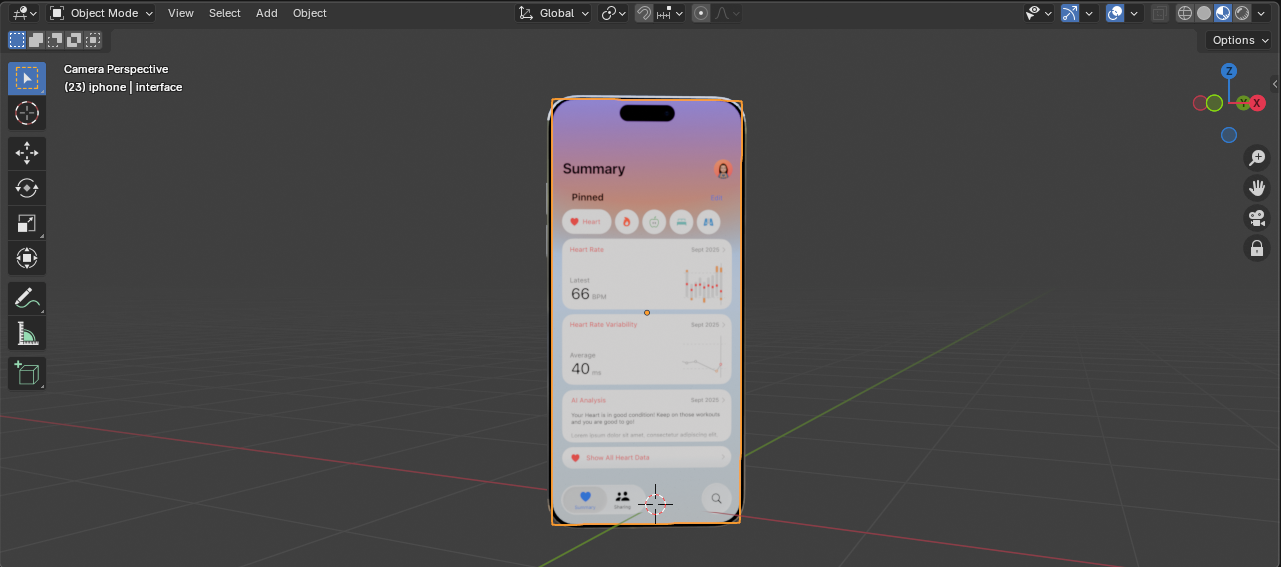 Screen on iPhone
Great! We have an iPhone!
Other Preparation for Animation
Since the Apple Watch isn't the focus. I used this Sketchfab model and added a screen using the same method.
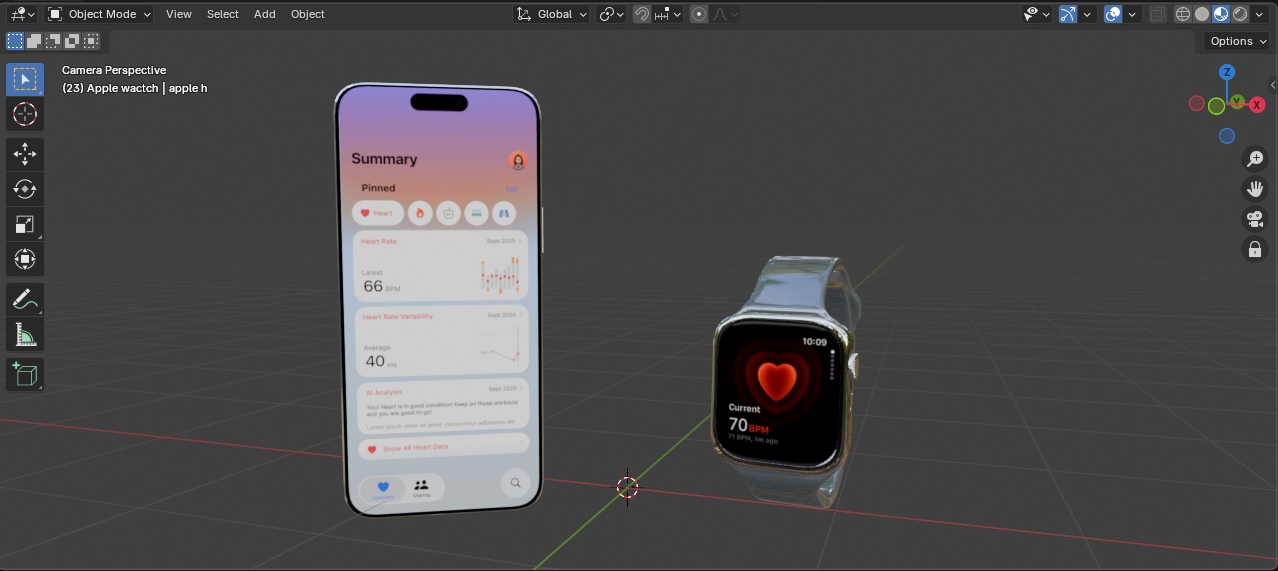 iPhone and Apple Watch. Family photo!
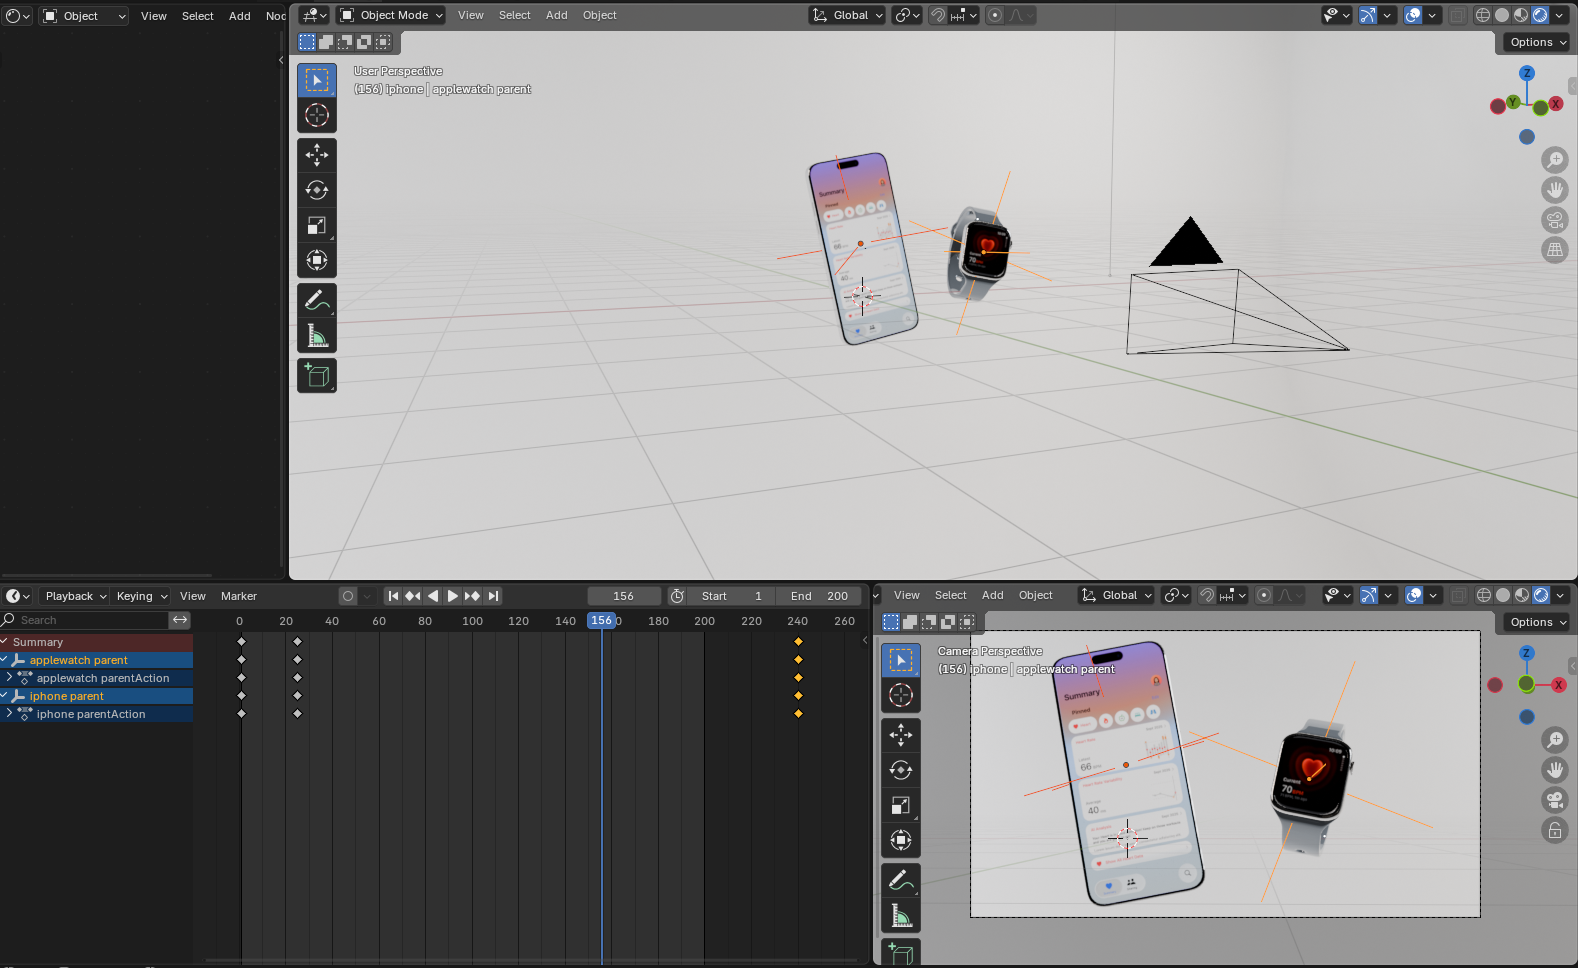
Both models have several components that are grouped together in collections. In order to control the entire collection for animation. I created 2 empty axis objects and parent them to the collections. Now I can use the empty objects as controlers to move the collections around.
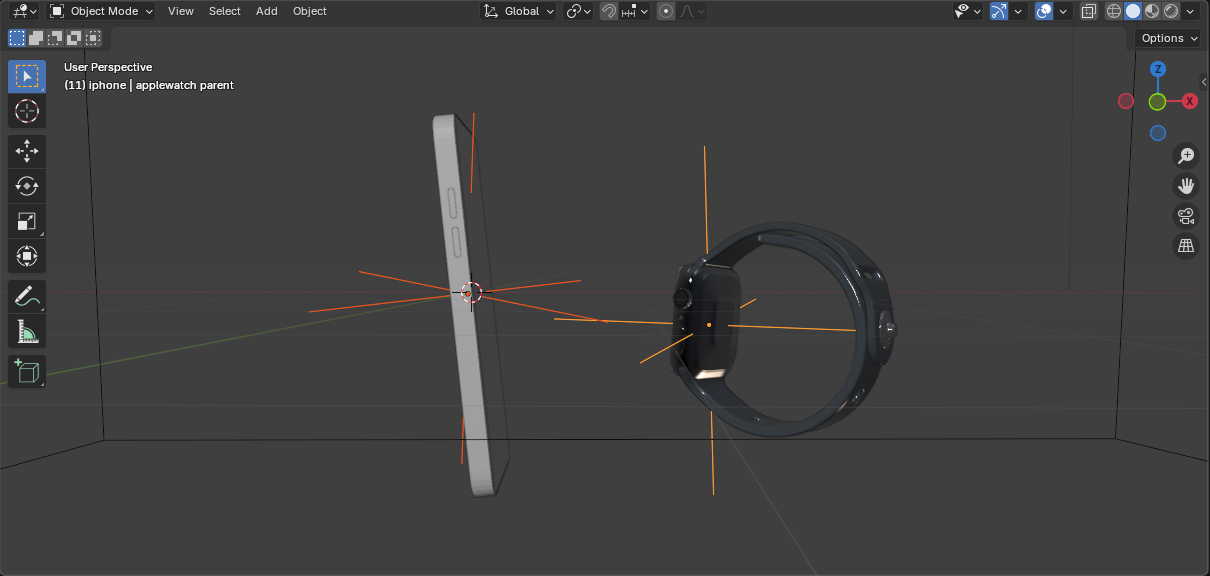 Parented collections
Oh right, the camera is also placed properly facing the correct side of the background.
Animation
Lastlt, I keyframed movements of the models and made them move.
 Flying phone and watch, woohoo
However, it gets boring very soon. So I tried to add a caption that shows after a few seconds.
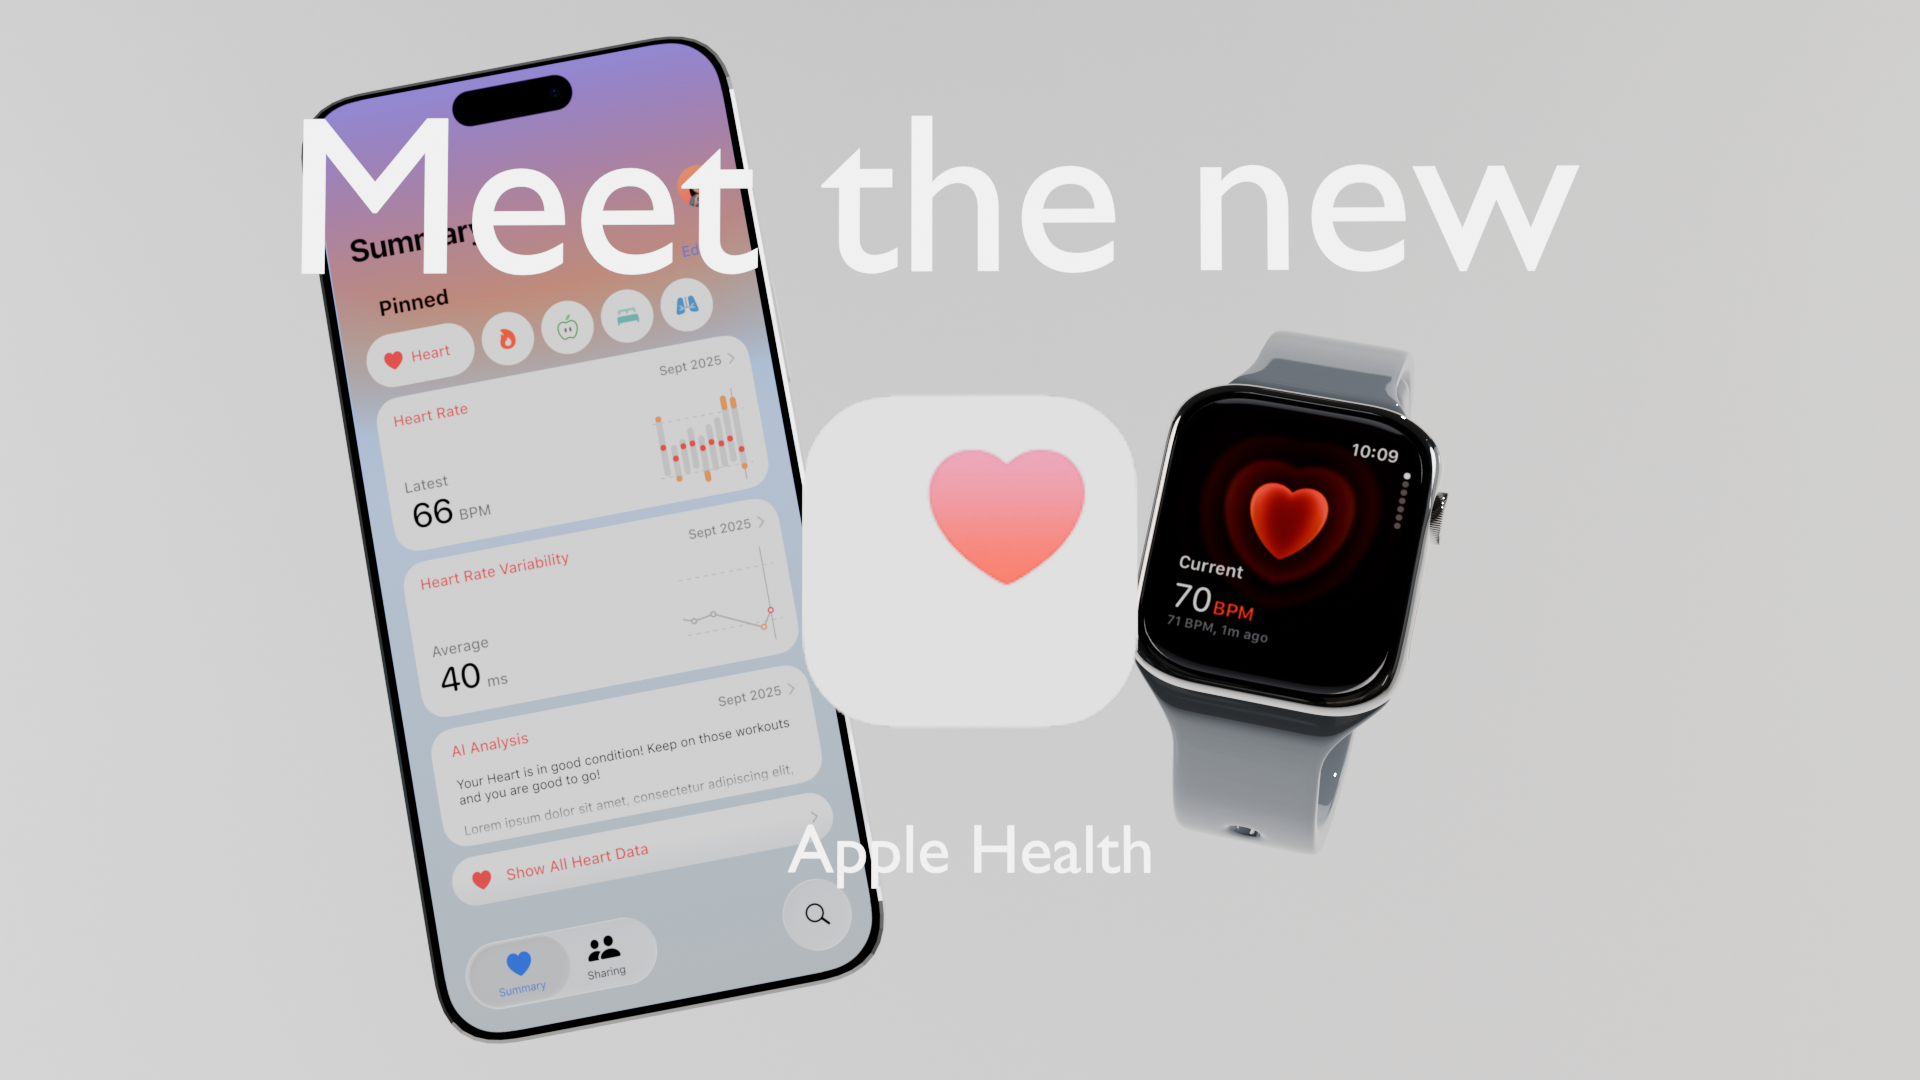 Meet the new Apple Health
Now here we have the final render!
Conclusion
I learned a couple of new tools making this scene. For example the Bevel edges tool or the Parent objects. Besides that, I could use the 3D assests for presenting my interface design in the future.
References
Small Studio HDRIs: Link
Apple Logo Model: Link
Apple Watch Model: Link
Apple Watch Screen: Link